

Blog - Mods and upgrades on the RZR Turbo R Part 2
Welcome to round two of mods on our RZR Turbo R build. Prior to the arrival of the machine, we had already ordered a set of custom PRP GT3 seats that had arrived several weeks in advance of the machine. If you've never had aftermarket seats, there's one thing you should know that you just can't appreciate until you have them. Yes they are more comfortable to sit it, but the biggest benefit, in my opinion, is how you feel at the end of the day after a long ride. You just don't feel nearly as beat-up as you would with stock seats. This is definitely one of those mods your passenger will also very much appreciate too.
I was thinking it would take 30 minutes to install the seats at most. Long story short, the PRP bracket kits for the Seats suck! For the driver seat, you have 8 lock nuts that are up under the seat that you have to bolt the seats down with. So to remove the seat, yes, all 8 nuts have to come off and they are not easy to get to. Between that and the unstrapping of the harnesses, it TOTALLY SUCKS to get the driver seat in or out. Even with practice, I bet it would take 15 minutes just to get the driver's seat out and another 15 minutes to get it back in. I got it in there though and then moved on to the passenger side. Since the two seater doesn't have a seat slider on the passenger side (thanks again Polaris) the brackets for the other seat are different. You can get the seat in with 4 bolts on the passenger side but part of the stock brackets that you remove is where the leg harness for the click 6 harness bolts down. And PRP didn't put in a provision on their bracket for the leg harness strap. It just says in the instructions that it will have to be relocated but no indication how or where. I called PRP and they said since it was a safety item, they couldn't give any advice on where or how to relocate it. I looked for some time for a suitable replacement place to drill a hole and bolt it back down and there just isn't a great option. Even though there are only 4 bolts for the passenger side seat to get it in and out, it is still no fun at all to try to get them lined up and tightened down. It's probably a 15 minute job on the passenger side to get the seat out too. Now I am sitting here sweating in the 95 degree heat, tired of messing with the harness straps and bolts and thinking about drilling a hole in my new car somewhere for the leg strap and thinking about how it's going to take me an hour just to change the air filter (it's behind the seats) and at this point I decided to call it and go back to the stock seats. Very disappointing indeed!
Fast forward to late August and PRP started shipping their new seat brackets for the RZR Pro models: Pro XP, Turbo R and Pro R. The new brackets are just about perfect. The brackets bolt straight to the PRP seats with 4 bolts and then allow you to pop the PRP seats in and out just like the factory seats using the factory seat latches. They have some adjustment built into the brackets for forward/back slide positions that allow for some fine tuning of the seat positions. This is especially nice on the passenger side of a 2 seater like mine where the passenger seat only has 2 positions, all the way forward or all the way back. The new brackets also allow you to still use all of the factory adjustments available, forward/back and recline settings. The seats do sit about 2" higher than the stock seats. This is fine with me at 6'1" tall, I still have plenty of head room but now have slightly better sight lines over the dash and hood. The one thing they don't have is a release handle that connects to the rear latches, but it is really easy to just reach around the back of the seats and push the release hooks.
If you would like a quote for some PRP seats for your UTV, hit us up here at RockPeak UTV!


Next up it was time for some storage. I ordered and installed the 73 Qt Polaris Cargo Box PN:2883751. It has some good space but nothing like the amount of space we had in the Rough Country cargo box in our Turbo S. It is super easy to install with the Lock and ride plugs and it does look great. It is a little flimsier than I was expecting but strong enough to keep anything in.
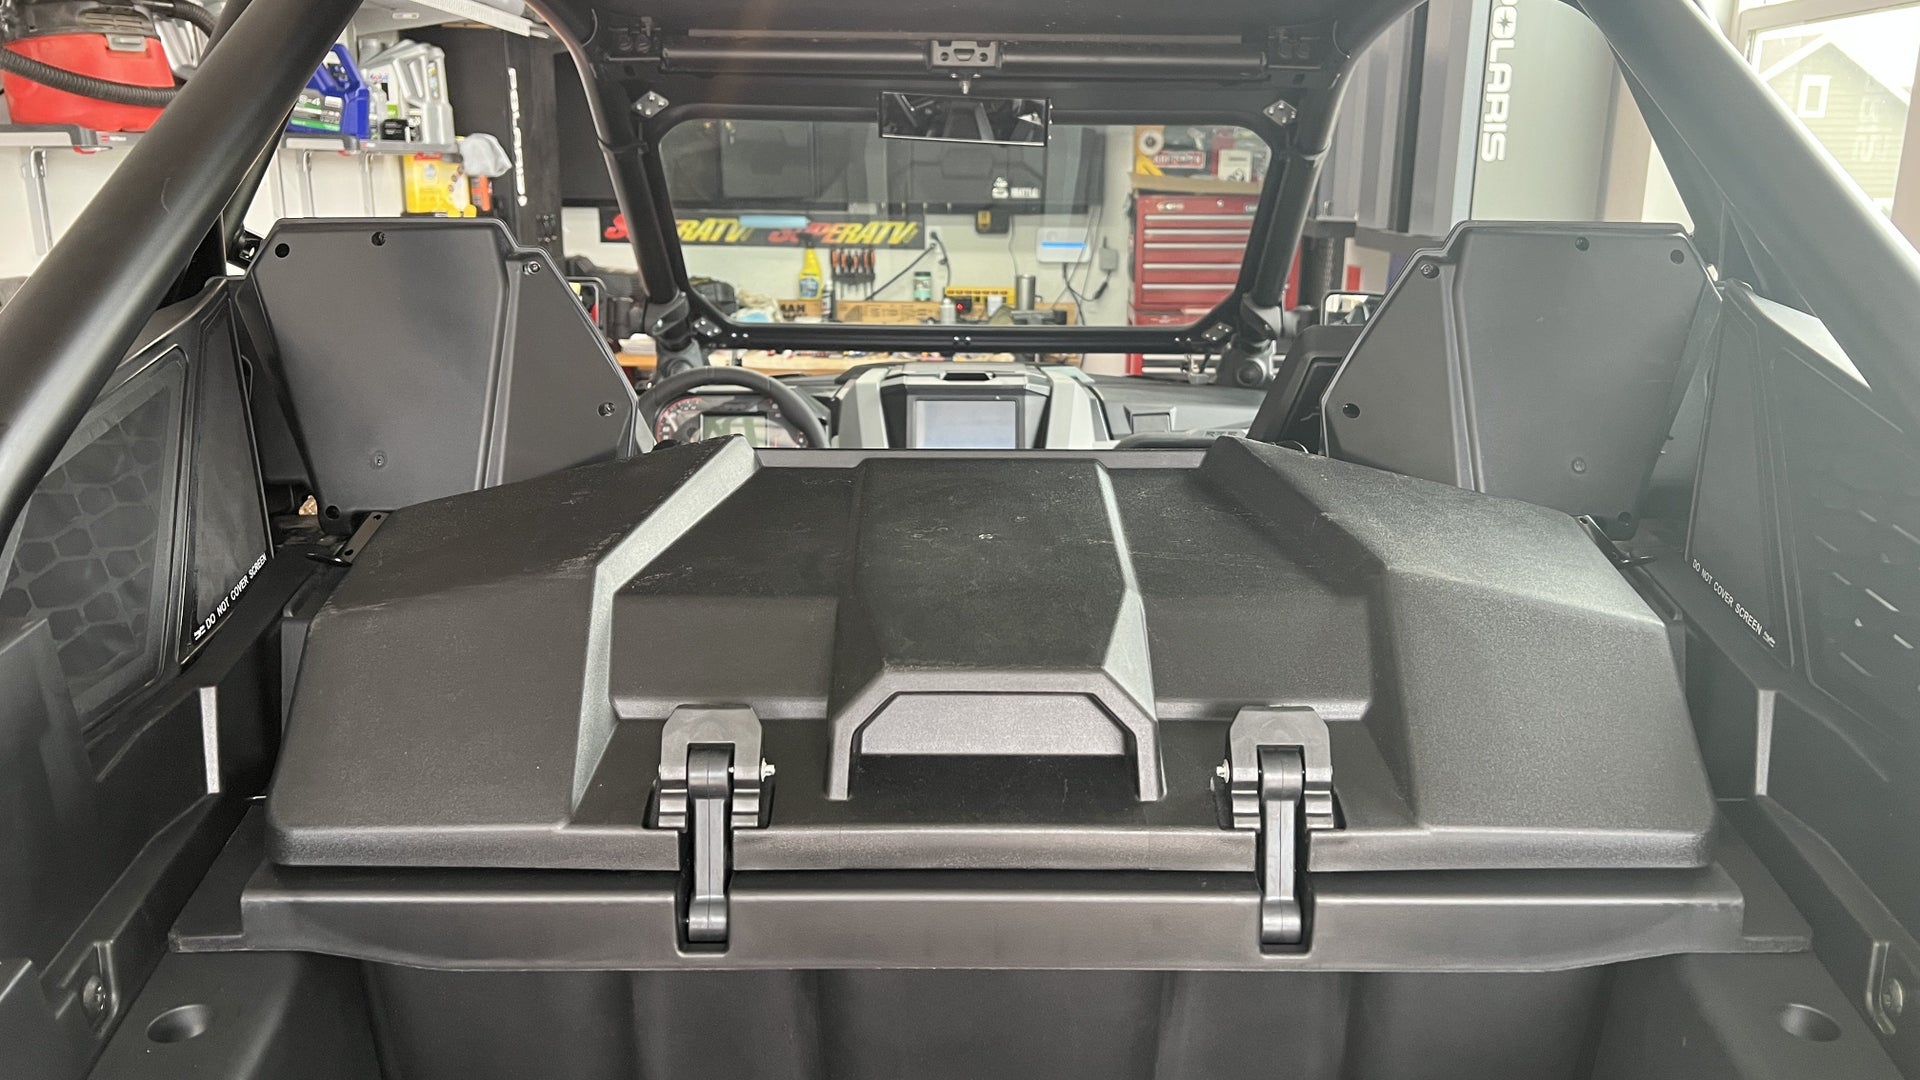
Everyone who has done any trail riding more than a couple of miles from the trail head knows a beverage cooler is a must. I found a rather inexpensive option was this cooler made by Pro Armor that is purpose built for the Pro XP, Pro R and Turbo R bed. It fits perfectly behind the Polaris 73Qt cargo box and is very easy to access when you need to grab another cold one. It has velcro straps sewn to the side of the cooler that loop through the anchor points in the bottom side of the RZR bed. It is very easy to install when it's empty but a little trickier to get the velcro straps in and out of the anchor points when the cooler is full of ice and beverages.

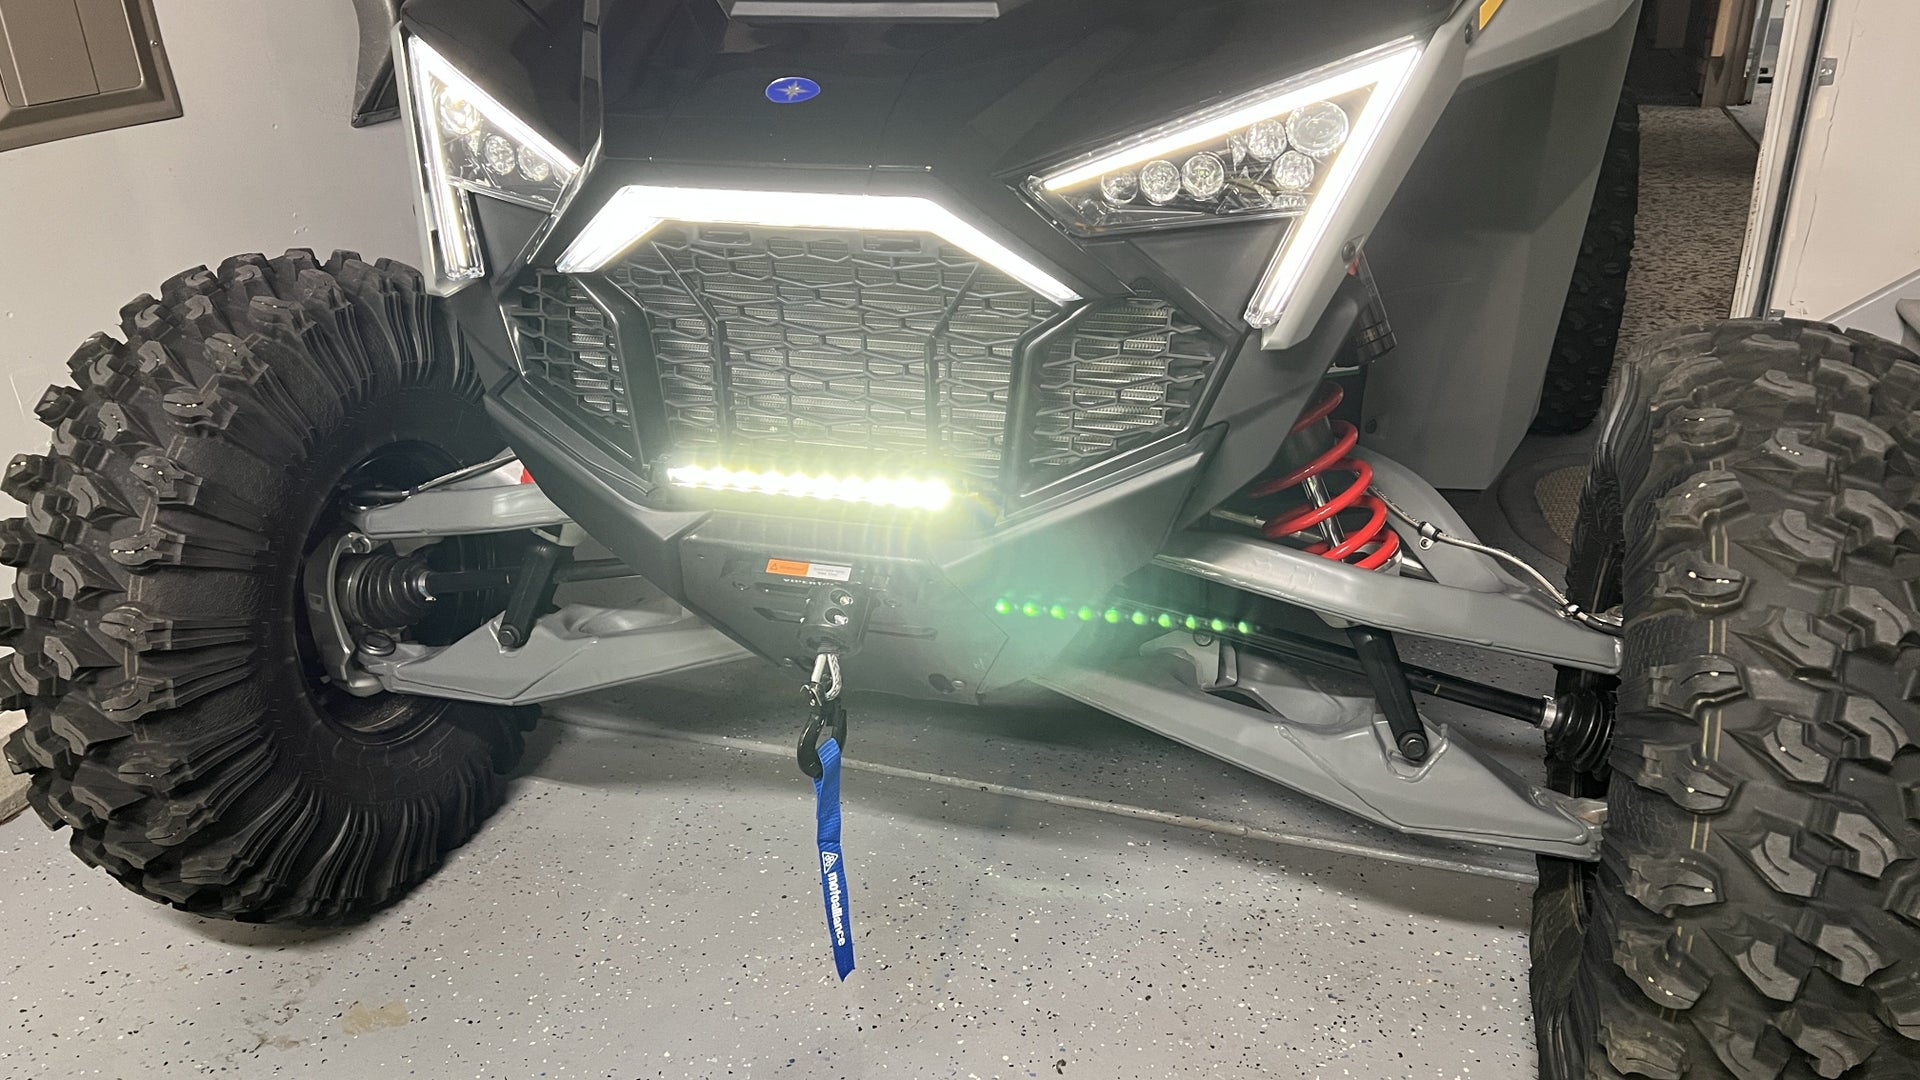
In the summer in Colorado, if you play it safe on easier trails, you might never need a winch. If you hit the more serious rock crawling trails or ride in the snow, I'd highly recommend not leaving the house without a winch. We had a Motoalliance Viper V2 4500 wide spool winch sitting here for several months waiting on the Turbo R to arrive. It lists for $399, it's waterproof, has 65' of Amsteel synthetic rope, a wireless remote and looks pretty good too. I also decided to give this Rough Country mounting kit a try since I don't think Motoalliance has a mount kit out yet for the Turbo R / Pro R. At $165, Rough Country also includes a 10" LED light bar in the kit. Nice bonus!
I am pleased to report that everything fit great with this combination. It was a little tricky getting the first two bolts started on the winch plate. They are kind of in a tight spot and it is difficult with one person to hold the weight of the winch up and get the bolts started. I finally figured out that if I set the winch and plate on a rolling stool, I was able to get it lined up and get the bolts started. I chose to mount the solenoid under the dash and connect to the power poles on the right side of the bus bar versus trying to route the power cables down to the battery. I figure if that works for the Polaris winch (that is what is in the instructions for the Polaris brand winch), it should be OK for this winch too. For every other winch I've installed, I've gone straight to the battery but it just looks like a major PITA to run the wires on the Pros all the way to the batter under the seat.
The only thing lacking was that the hex head bolts that came with the winch plate wouldn't fit down in the recessed holes on the Viper fairlead, and the button head allen bolts that came with the fairlead were the wrong threads. I made a run up to Lowe's and picked up two Grade 8 3/8-16 1.25" allen socket head cap screws to finish up the job.
The switch that came with the light bar wasn't a carling style switch either, it was pretty cheesy really. I just cut the switch off and wired the harness to a carling style rocker switch that I had leftover from another project.
Winch with free shipping from RockPeak UTV: $399
Rough Country Winch plate and 10" Light bar: $165
3/8-16 x 1-1/4" Socket Head Cap Screws at Lowes: ~$2.28
Carling Rocker switch (Amazon): $9.50
Pulse Bar Connectors(Amazon): $12.88
Total: $588.66
You'll also need some female spade and some butt connectors if you don't have any already. I like to use heat shrink wrap on everything I wire too.
I did confirm with Motoalliance that the physical dimensions on the Viper V2 6000lb winch are the same as the 4500 so you should also be able to use the 6K on the Turbo R or Pro R as well. I would definitely go 6K on the 4 seaters. It's only $30 more than the 4500.
Viper UTV Winch - V2 Wide Spool
Here are a few photos.

Getting this plate bolted up to the frame was a bit of a trick with one person.

Here is the cheesy switch that comes with the light bar and mount kit:

After cutting off the LED switch above, I put some spade connectors here under the heat shrink that I put over them. Just plug these up to the carling switch. Black is ground, I can't remember now which is hot and which is switched. I just used a light tester to figure it out. Remember to disconnect the battery for all of the wiring though! I just hooked the battery back up temporarily to test and figure out which was accessory hot and which was going to the relay. Then disconnect the battery again.

I will probably get a different Carling rocker switch for the light bar later. This one I just had leftover from another project.

It was so clean under the dash before.

There is a lot of extra wire length. I am going to go back and clean this up later when I install a street legal kit. Note the pulse bar plugs from the Amazon kit. One powers the light bar and one for the winch switch power. I used the blue accessory switched power for both the light bar and the winch switch power so nothing is live with the key in the off position. (Well the solenoid is always hot I guess since it wires to the power poles). When I tested it the first time, the "In" on the winch switch was spooling out, and "Out" was in. You can easily fix this by swapping the green and black wires with the L shaped spade connectors on the solenoid here.

Note the hex bolts here that won't fit in the fairlead and still allow you to get a socket on them. I put the bolts in temporarily until I ran up to Lowes to get bolts.


This is what the bolts I purchased at Lowes look like. Just make sure you get Grade 8 or better bolts. The Fairlead bolts also bolt together the upper and lower half of the winch mount so they need to be strong bolts.

Installed:

Light bar on:
That concludes round two. Check out part one if you are reading this our of order and stay tuned for part 3.